Pizza or Bread (using the same dough)
Flavorful dough that will last in the refrigerator for up to a week. Also freezer-friendly. It’s named 1628 due to the ratio of core ingredients.
Prep: 30 minutes
Total time: 4-6 hours (rising time) or overnight + prep (20 minutes)
Ingredients
Dough
Yield: 6 x 12-inch pizzas or 1 dutch oven loaf of bread.
1100 grams 00 flour or bread flour (4 cup plus 4 tablespoon)
688 grams of water
1.25 grams sea salt (1/4 teaspoon)
8 grams active dry yeast (2 teaspoons) which is 1 packet of yeast.
tablespoon of sugar
20 grams extra-virgin olive oil (~5 teaspoon)
500 grams 00 flour or bread flour (4 cup plus 4 tablespoon)
345 grams of water
4 grams active dry yeast (1 teaspoons) which is 1/2 packet of yeast.
1/2 tablespoon of sugar
10 grams extra-virgin olive oil (~2.5 teaspoon)
Pizza Base Layer Toppings
- crushed can tomatoes

parmesan cheese
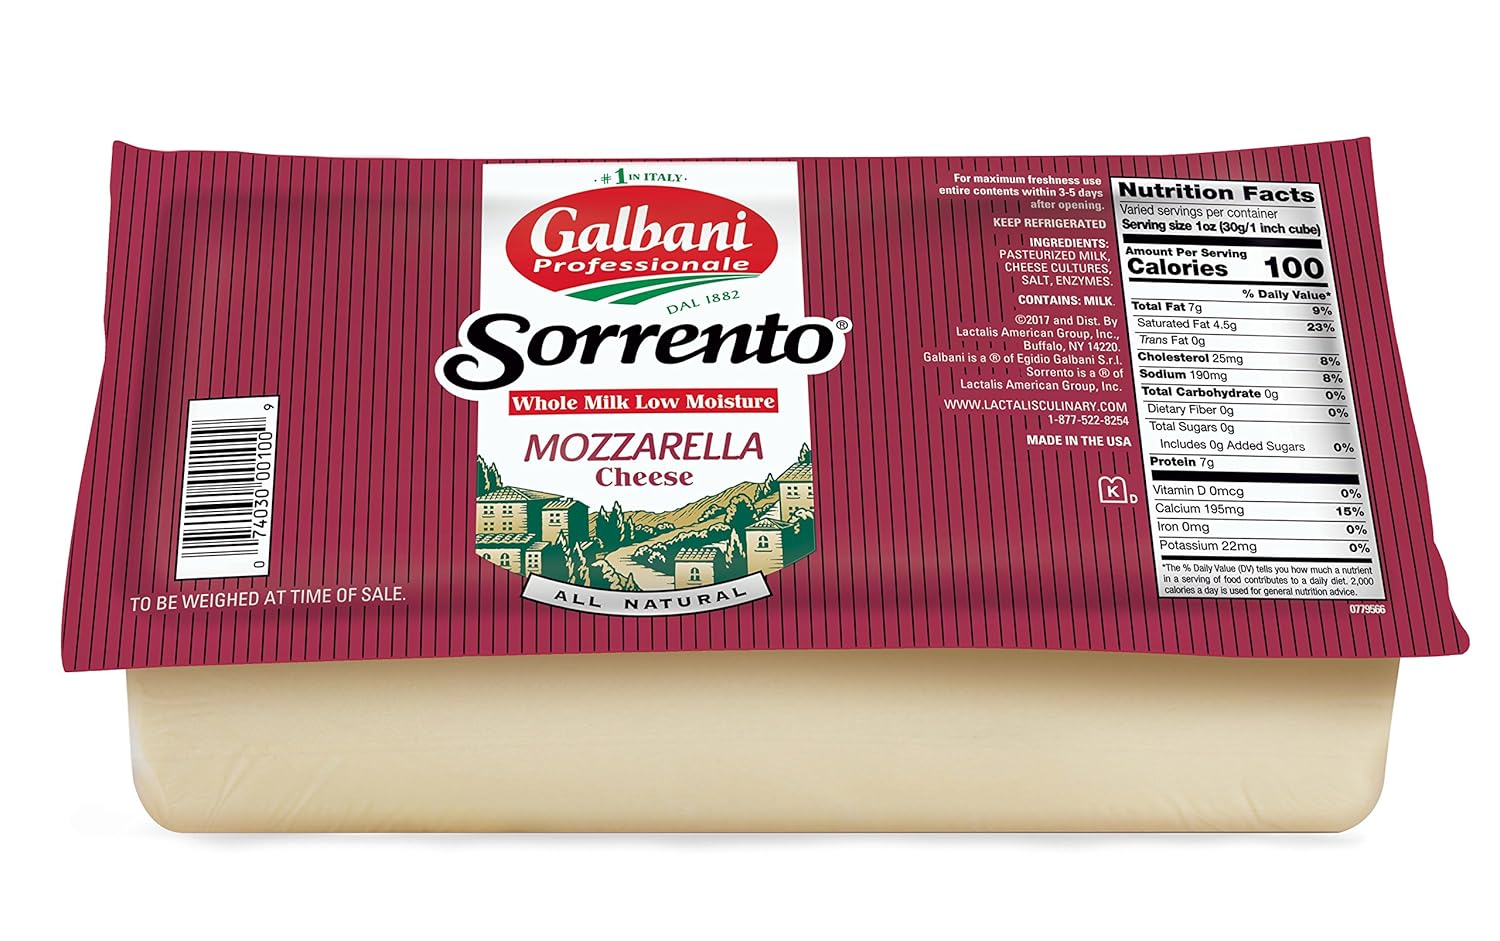
- low moisture mozzarella cheese - whole milk tastes better but skim is healthier
fresh basil (optional)
I Knead Some Dough
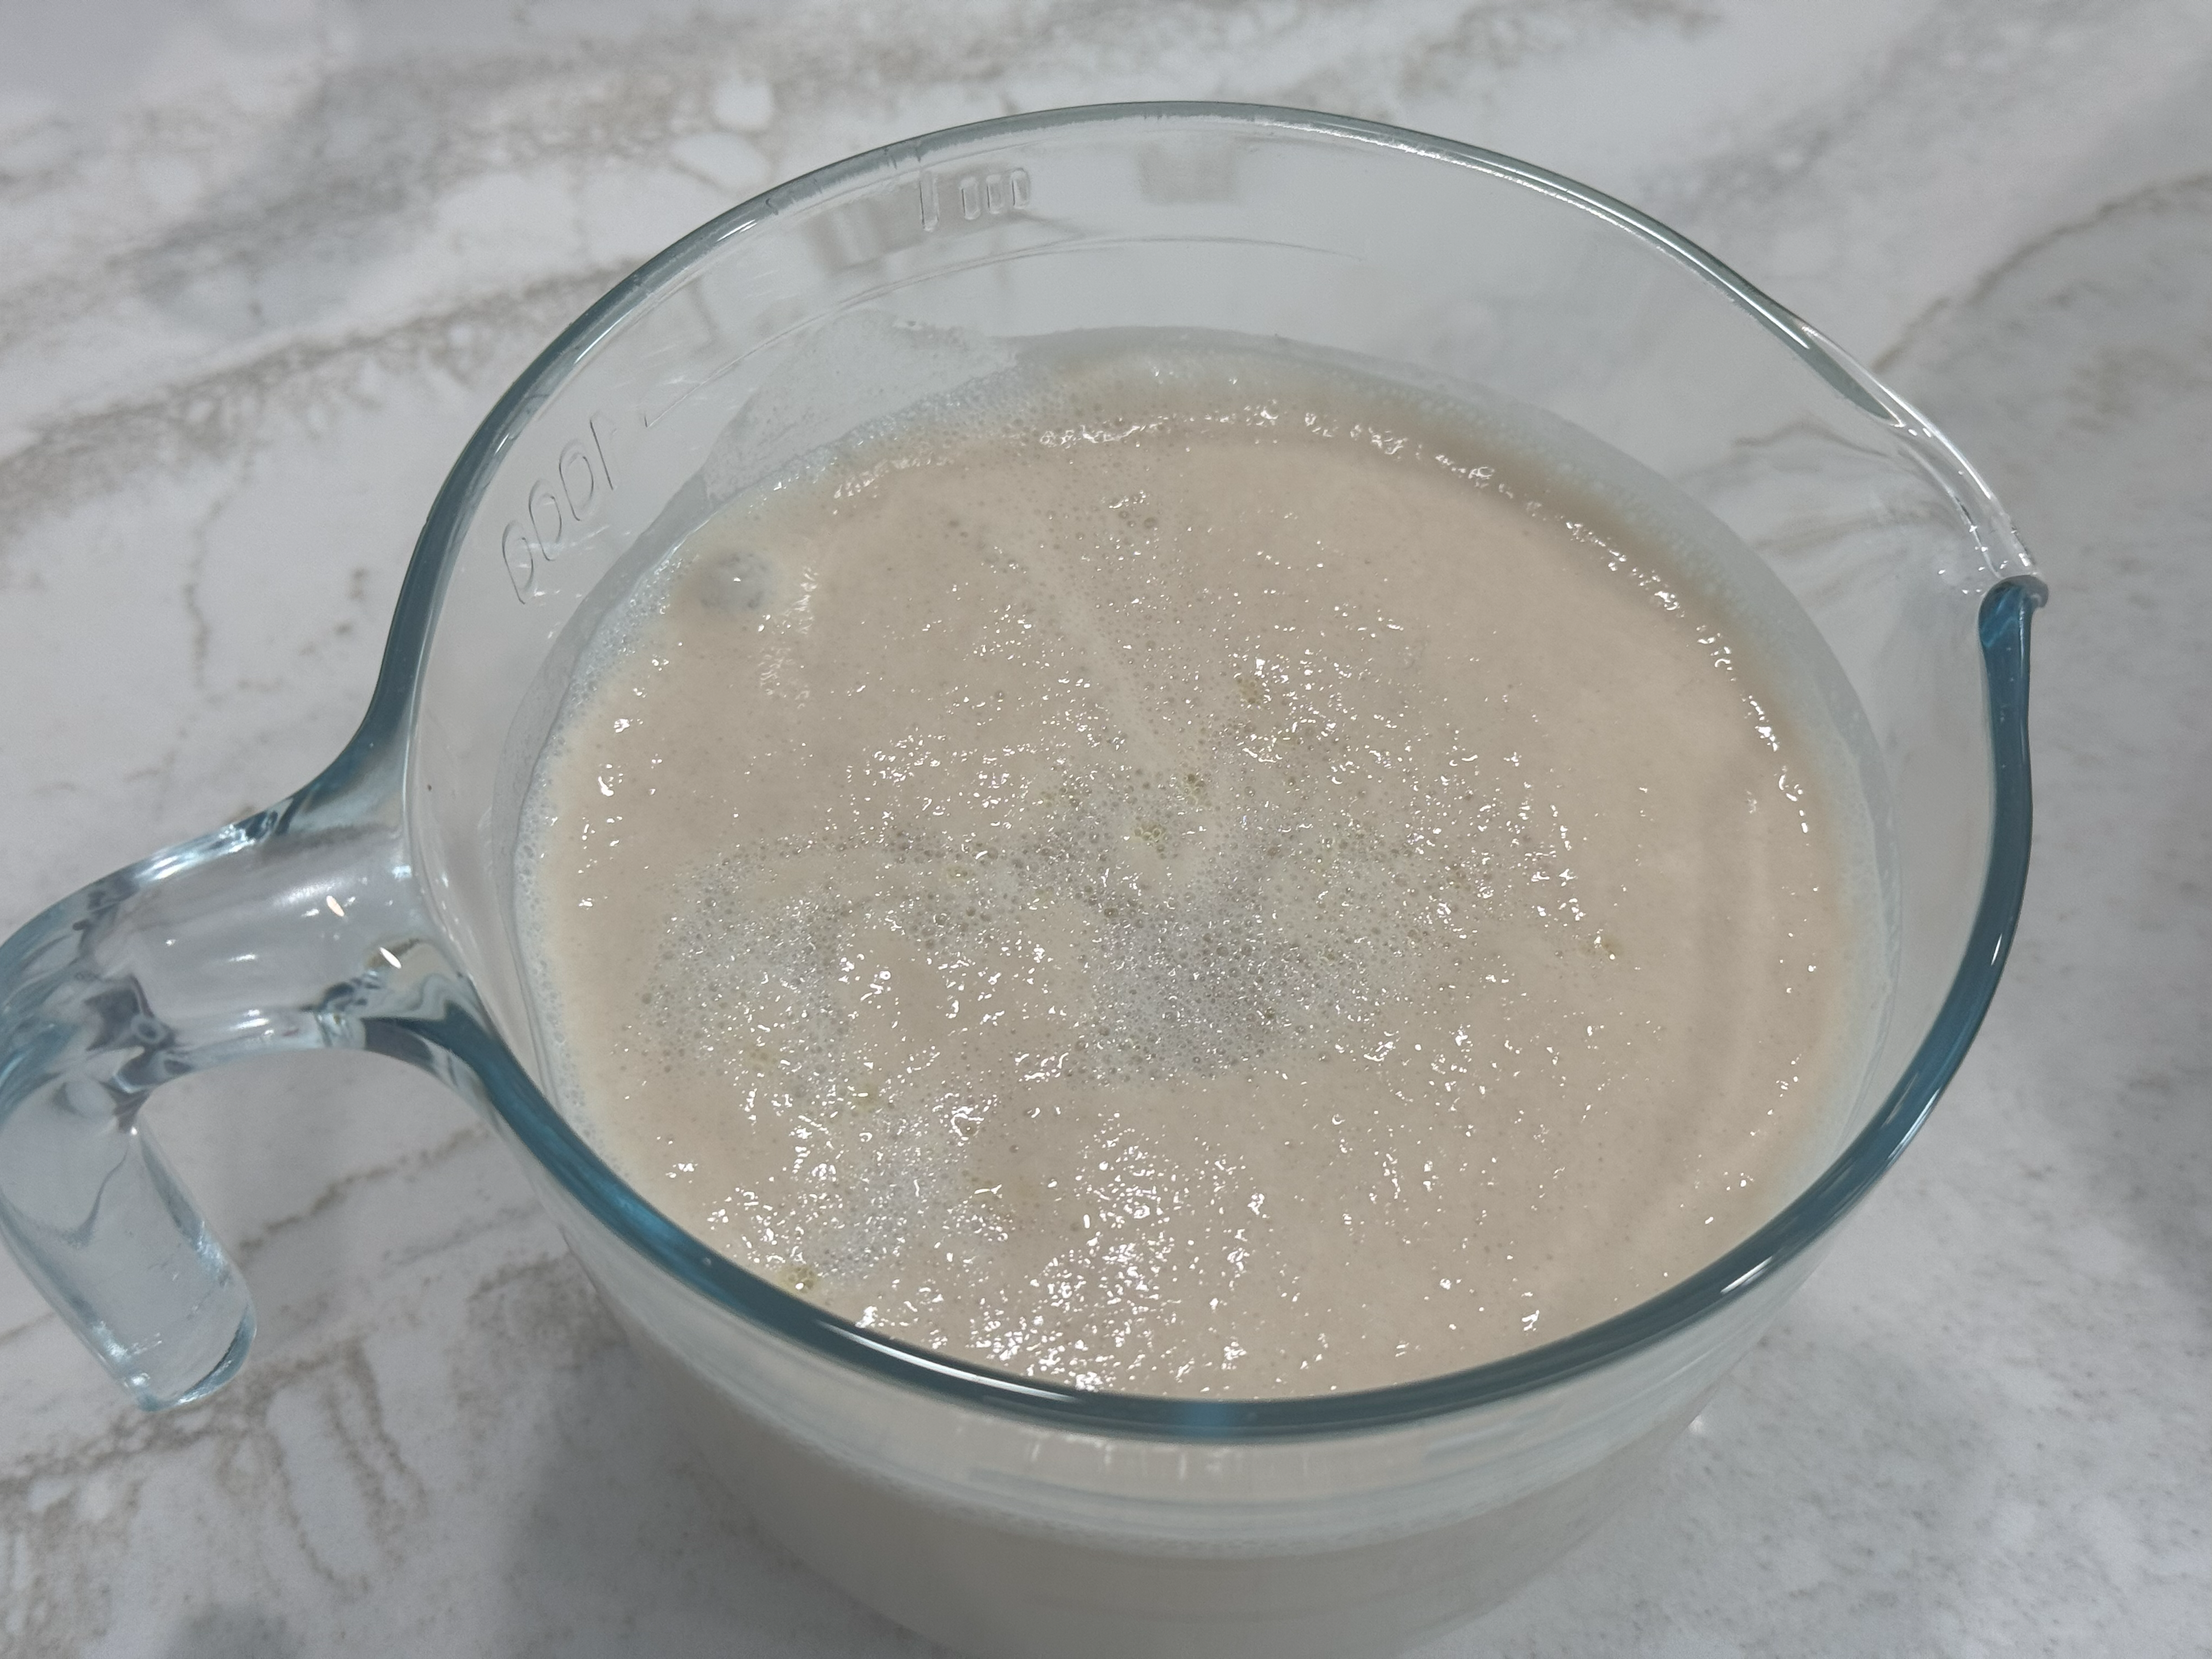
Check that Yeast
Put a measuring cup onto a kitchen scale. Zero the scale.
- Add water. For
eat the same day, use 90F - 100F (~32C to ~38C) water.
Day in advance, use 60F (~15.5C) water.
- Add yeast, and sugar into the measuring cup. Let it sit 5 minutes.
- If the yeast is still alive it should start bubbling. If not then then it’s dead and you’ll need to buy new yeast.
Add olive oil and salt.
Making Dough
Put a large mixing bowl onto a kitchen scale. Zero the scale.
Add the flour.
Add the yeast mixture into the flour.
- Knead that dough:
- with a stand mixer at low speed (2) until the dough pulls away from the bowl (~10 minutes).
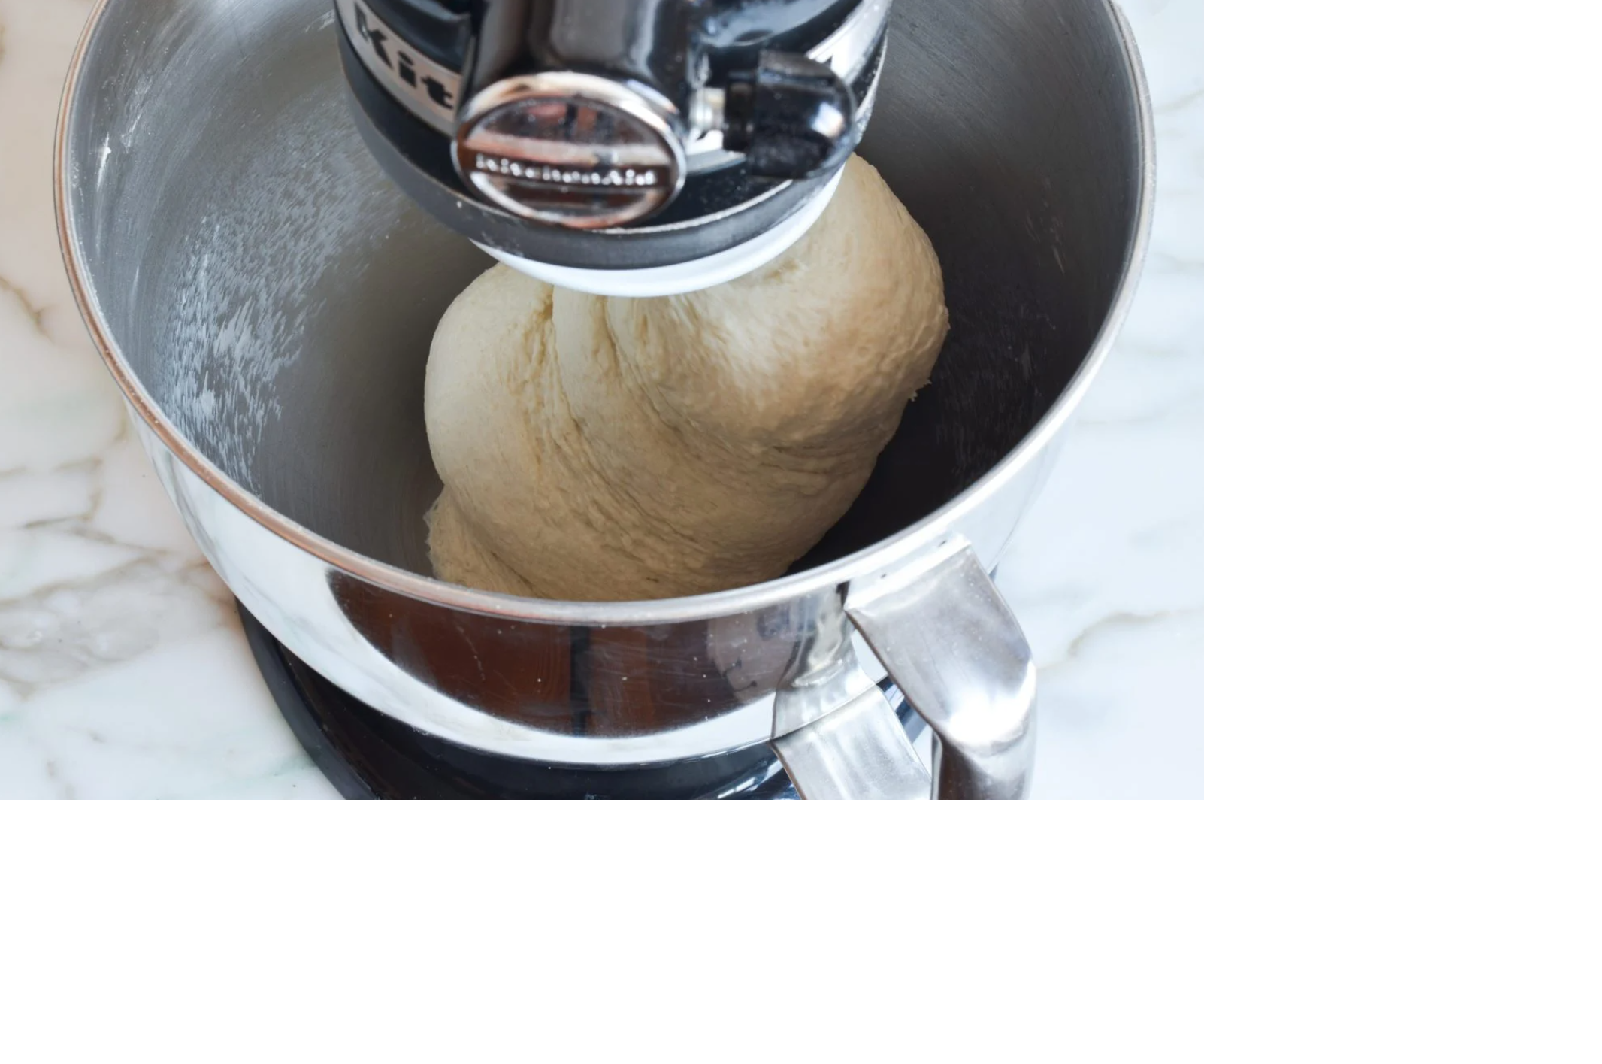
by hand, push the dough away from you, then fold it back over onto itself. Repeat until the dough is smooth and pulls away from the bowl (~20 minutes). If the dough is too sticky add a tiny bit more flour or let the dough stand for a few minutes before kneading.
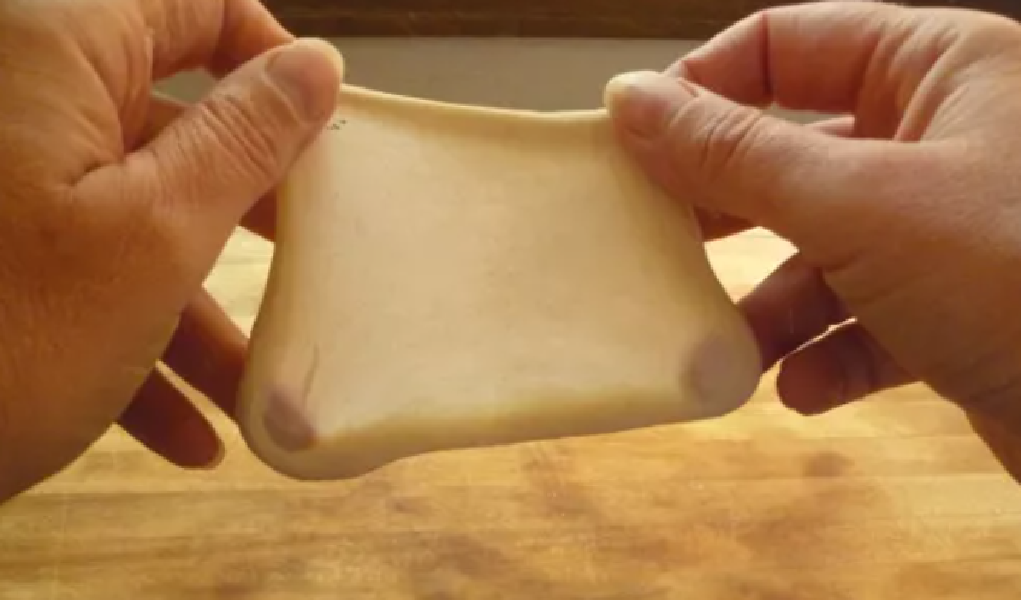
Tip
Windows Pane Test - To test if the dough has been kneaded enough it should be elastic when pulled apart. Stretch out a section of dough. If you can see light coming through it then it’s elastic enough.
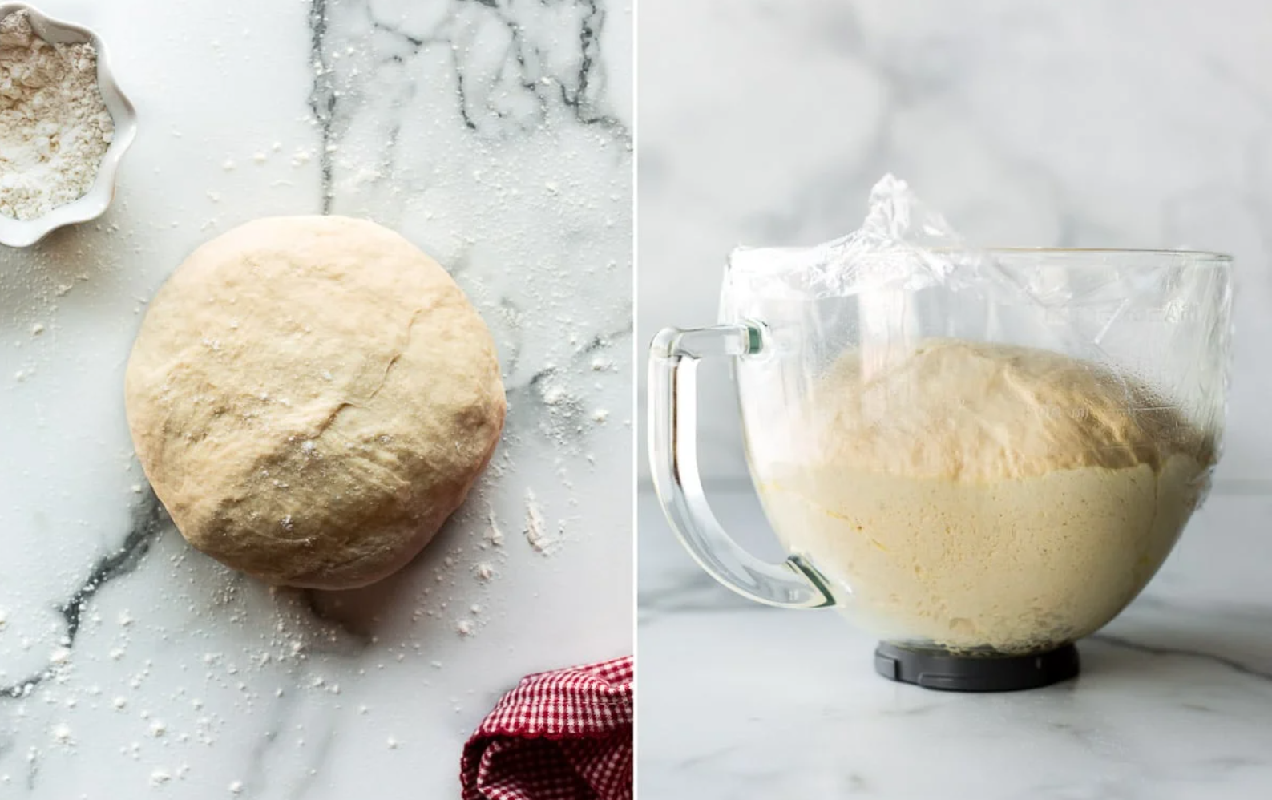
Lightly stretch the dough into a large ball.
Let it rest covered with a lightly damp tea towel for 30 minutes. After 30 minutes do a final stretch and roll into one smooth dough ball.
Put into a covered container at room temperature. Remove when doubled in size; approx. 2 - 3 hours.
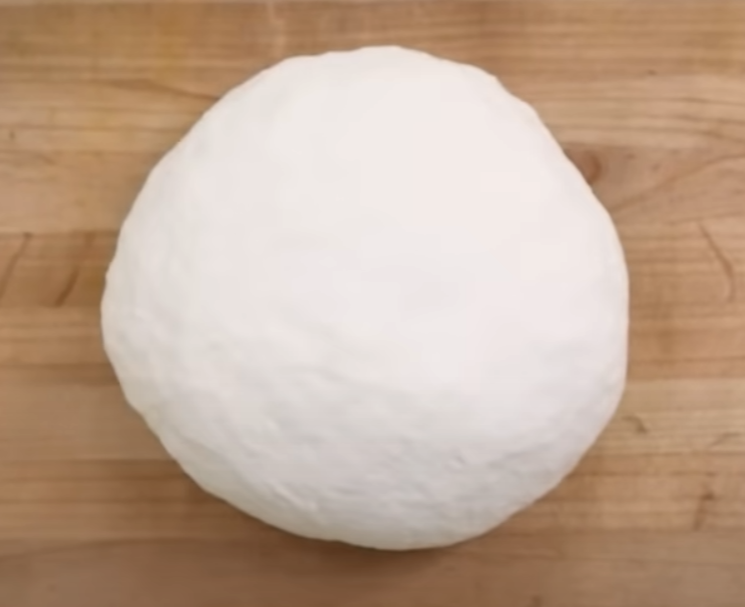
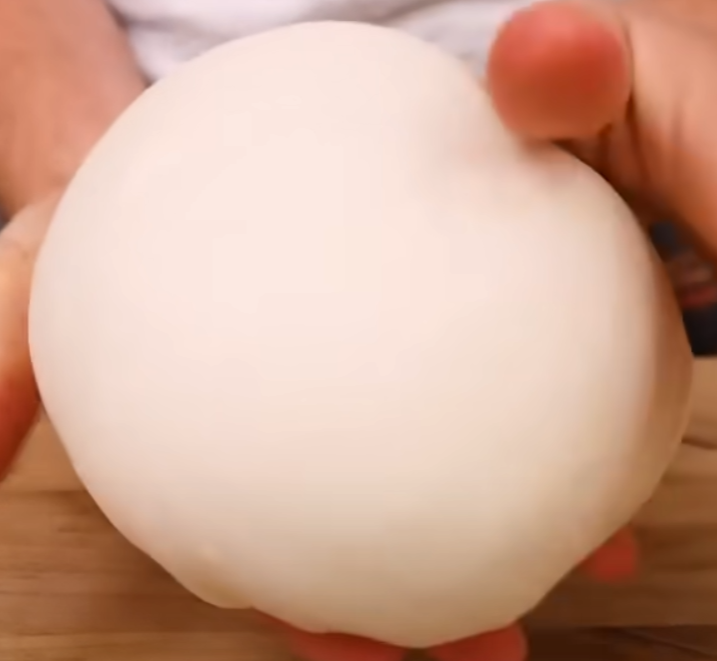
Cut into 6 equal pieces with each piece weighing 300 grams. Roll the cut portion into the bottom of each piece, forming a ball.
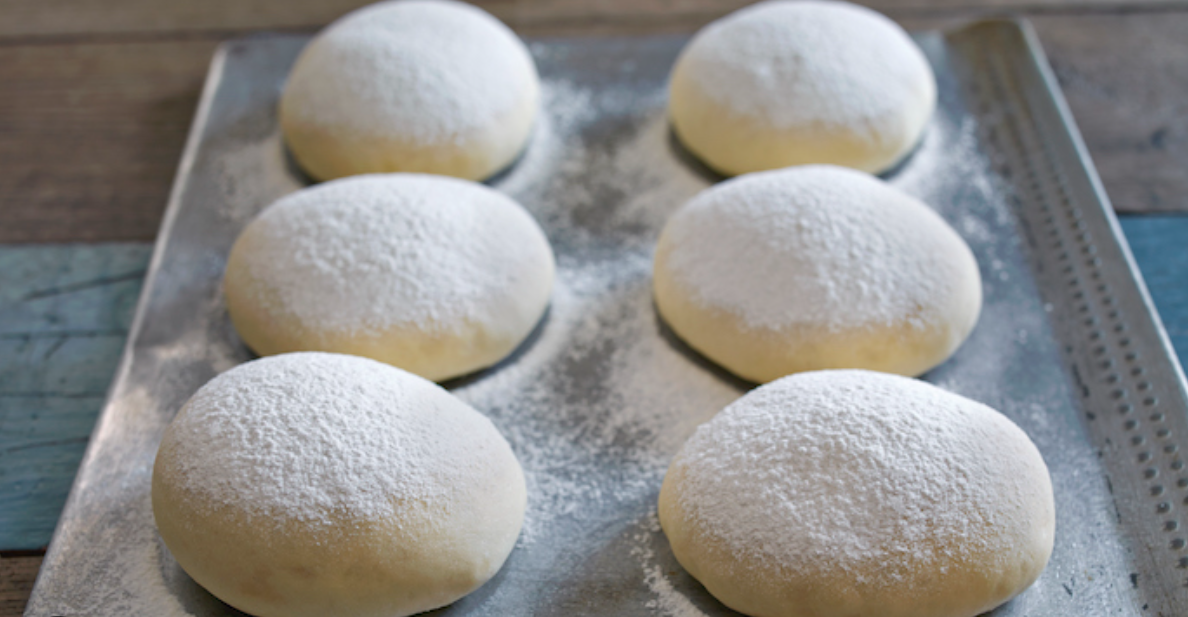
Put each ball into a resealable container or medium size ziplock back that has a bit of olive oil in it. Roll the dough ball around in the oil to keep it from drying out.
Eat the same day
Rest at room temp for 4-6 hours
Day in advance
Rest in the fridge overnight or up to a week. (Preferred resting method.)
2 hours before use take it out and let it come to room temp.
Baking time
Pizza Pies
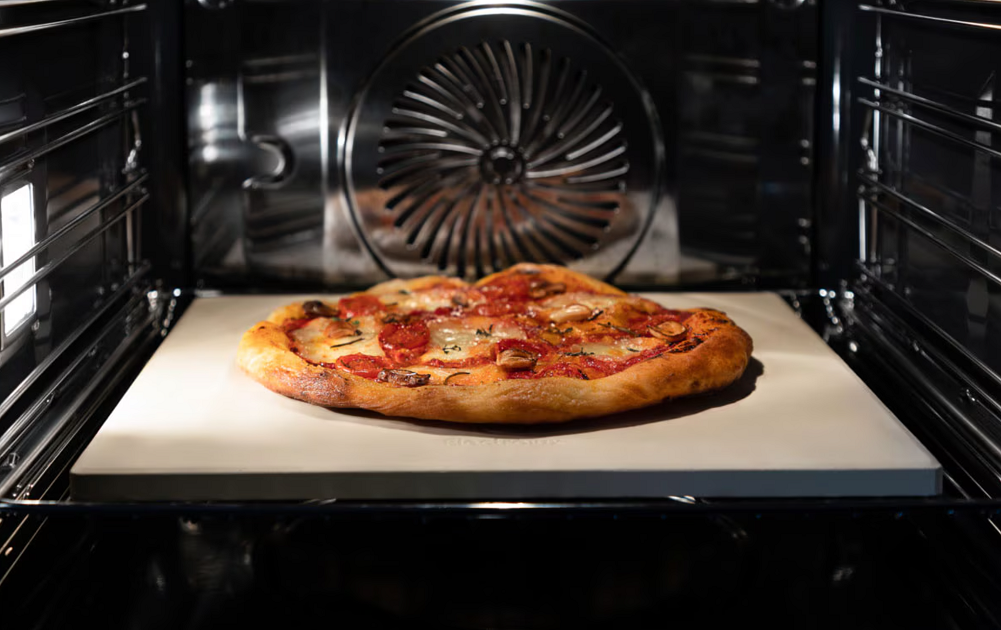
Add a pizza stone or steel into the oven and pre-heat to 500F or more (pre-heat for 30-60 minutes)
Tip
If using a pizza steel, place it on the top rack of the oven 6-8 inches from the broiler.
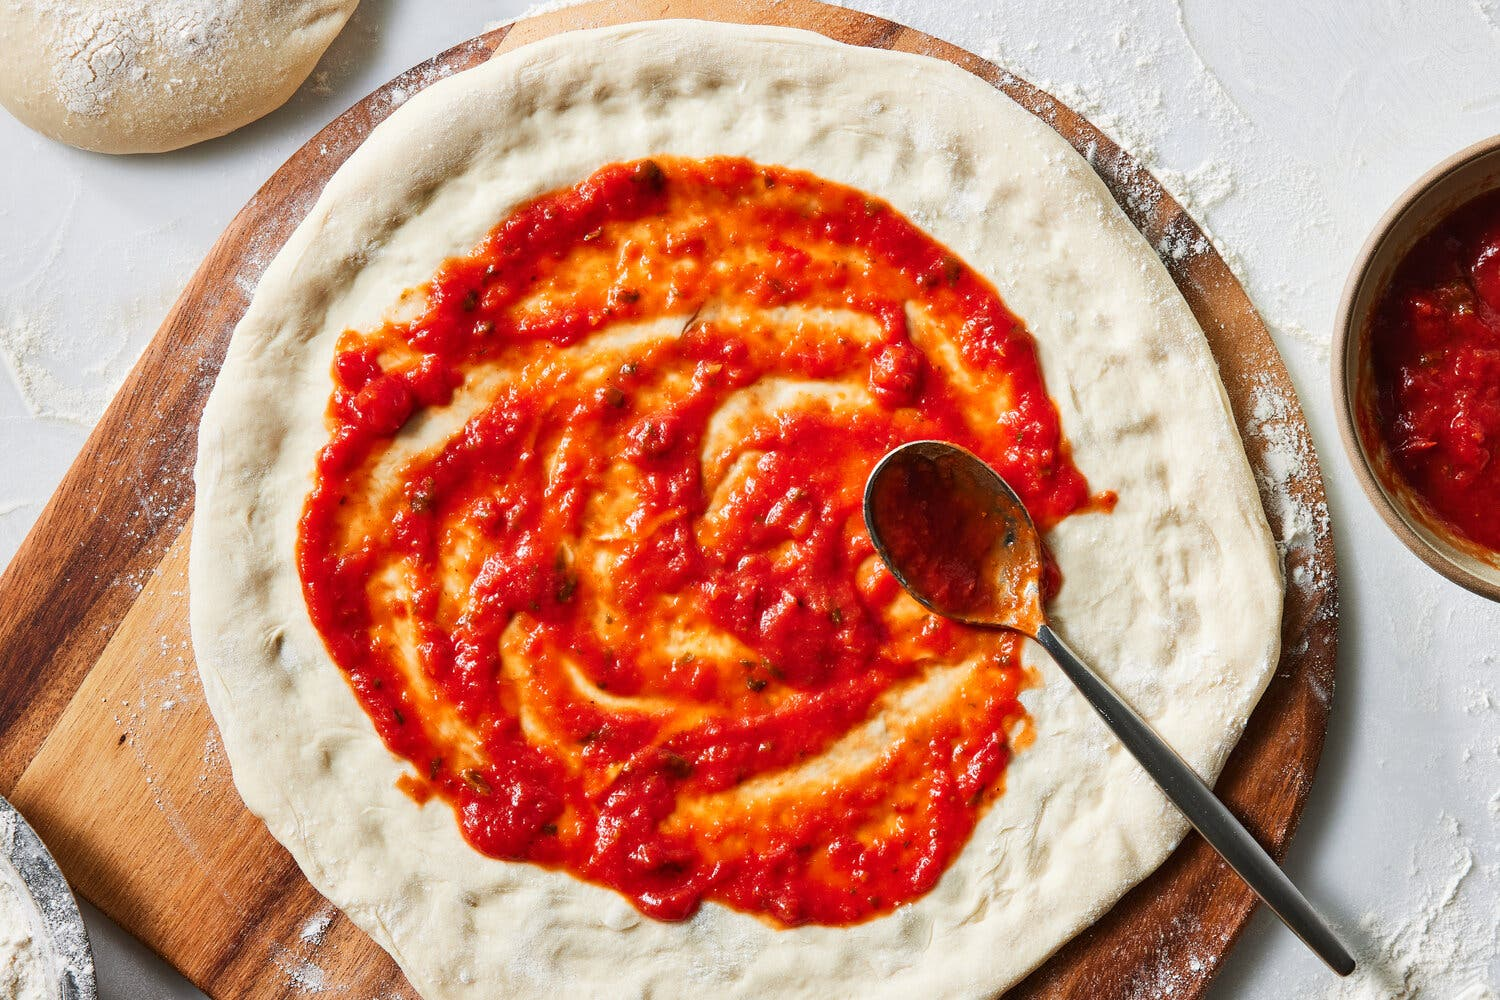
To make pizza, place each dough ball on a heavily floured (semolina or flour) surface and use your fingers to push the air bubbles towards the crust. Stretch it into a round or square shape, continuing to push air bubbles towards the crust.
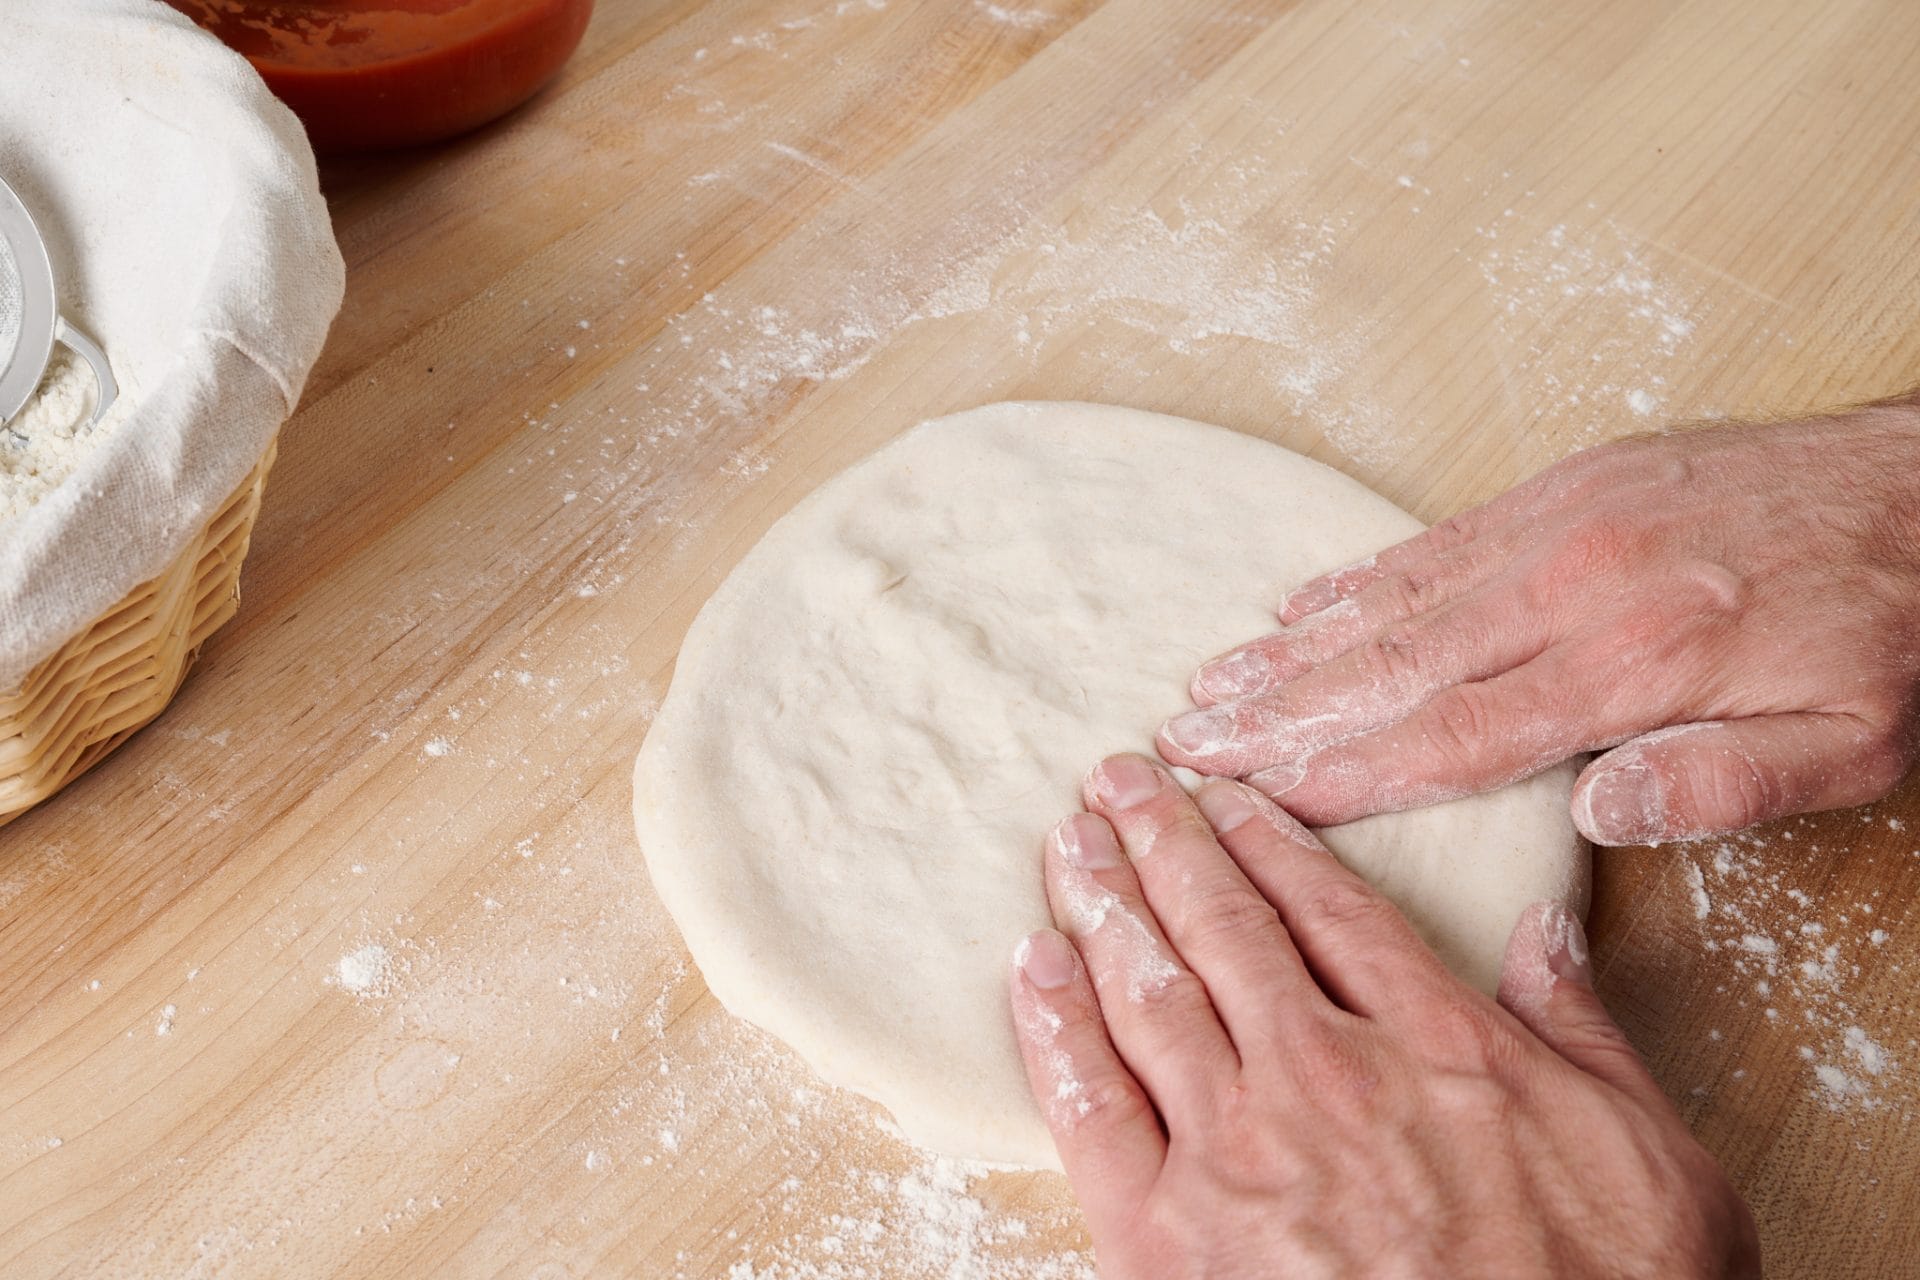
Tip
If the dough snaps back it means the dough hasn’t rested long enough. Reform a ball and let the dough rise again. This is why an overnight rise is better.
- Add toppings
- Apply crushed tomatoes onto the pizza all the way to the edges
Tip
If the tomatoes are too watery, place into a pot and boil off some of the liquid.
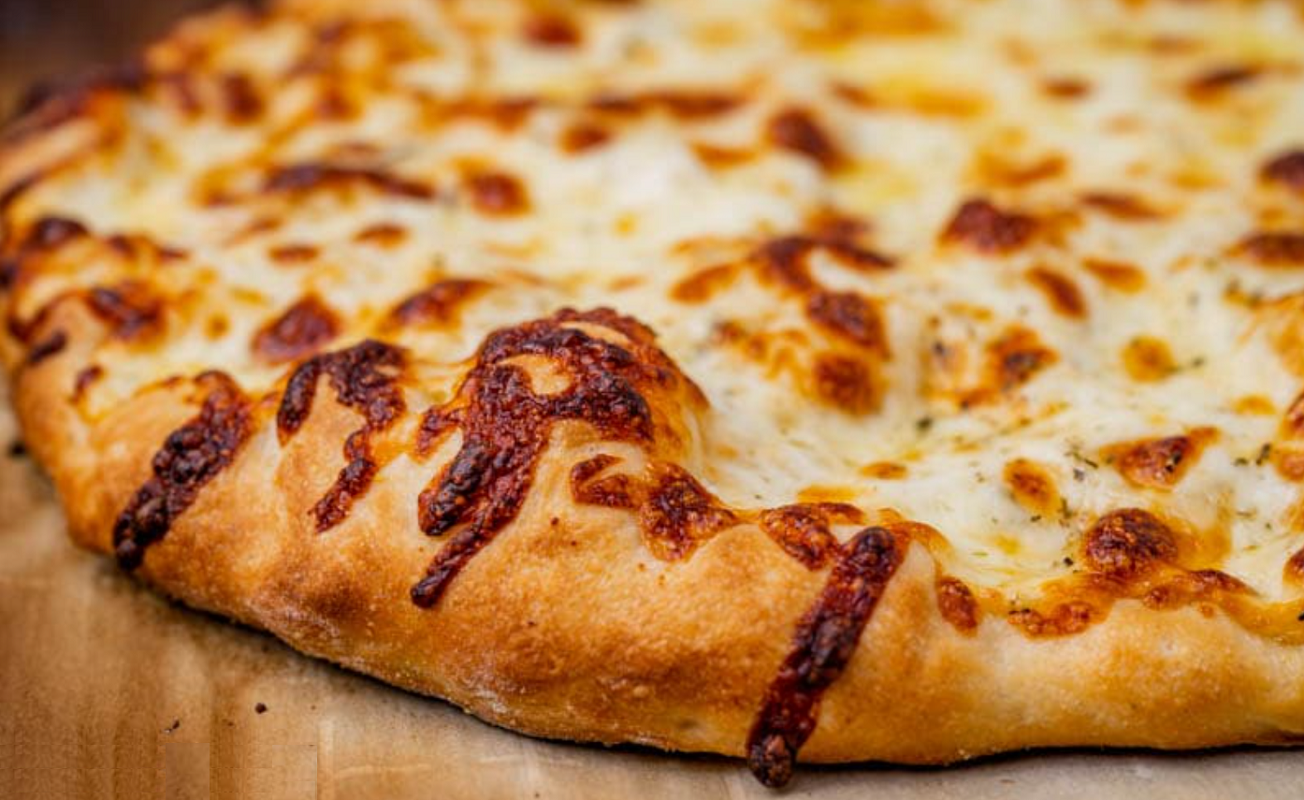
Add a thin layer of parmesan cheese on top of the tomato sauce
Add the low moisture mozzarella cheese (aka pizza cheese)
Add all other toppings
Tip
Go easy on the cheeze. Adding too much cheese will make the pizza floppy and greasy. Stop when you don’t think you’ve added enough.
On a pizza stone, bake for up to 15 minutes or until the crust is golden brown and crispy.
On a pizza steel you want the top to bake quickly since the steel will bake the bottom quickly. To do this set the oven to broil for a few minutes to blast heat to the top of the pizza.
Dutch Oven Loaf
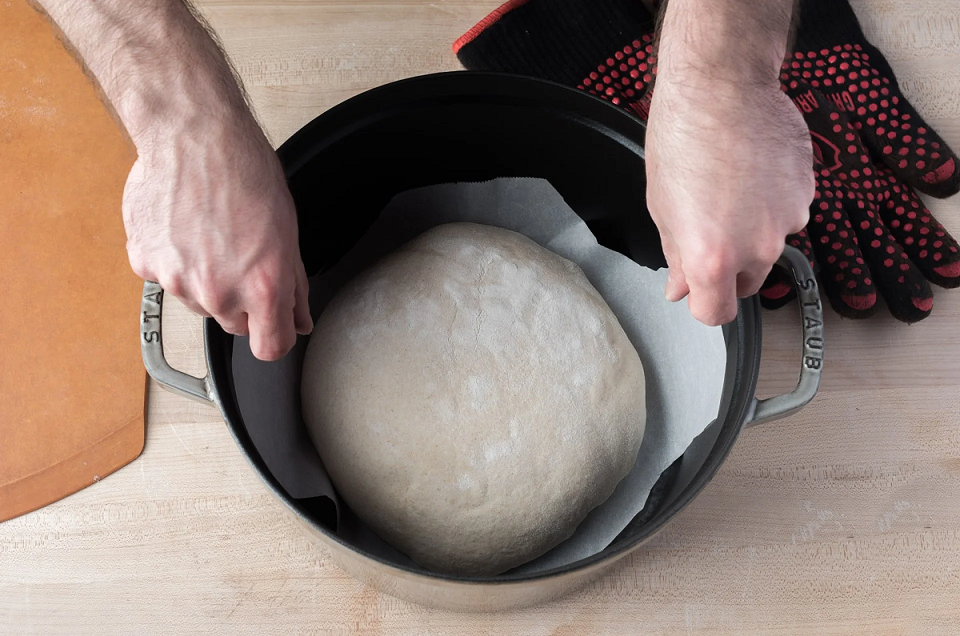
Line a dutch oven with parchment paper, and place the dough ball inside to check the fit.
Lift the dough ball out of the dutch oven and put it aside while the oven pre-heats.
Apply a thin layer of oil inside the dutch oven.
Add the covered Dutch Oven to the oven and pre-heat to 420F (for 20-30 minutes).
Once pre-heated, carefully place the dough ball into the hot dutch oven and cover with the lid.
Warning
Always wear oven mitts when handling hot pots and pans. The dutch oven will be very hot.
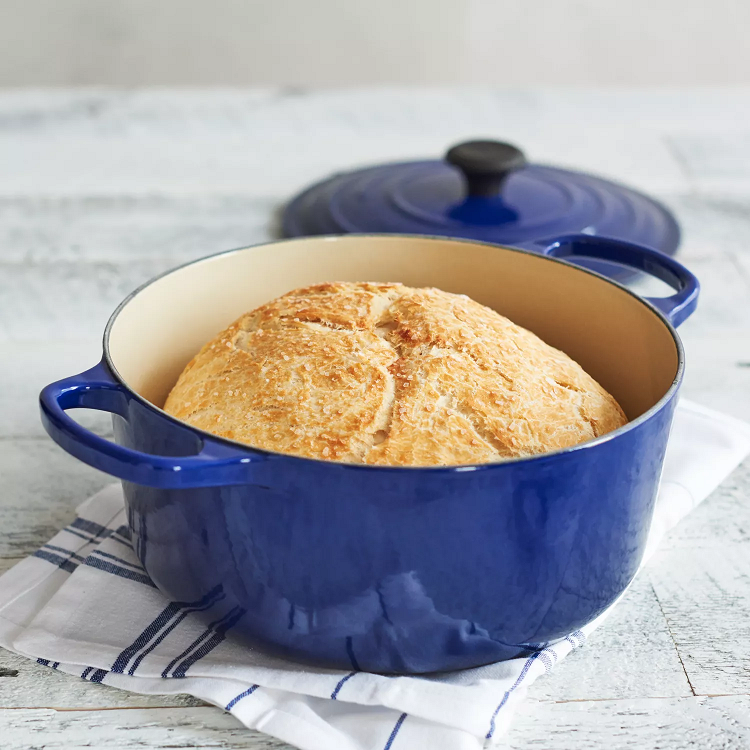
Bake for 35 minutes with the lid on, then remove the lid and bake for another 5 minutes until golden brown. Use an instant read thermometer to check the internal temperature of the bread. It should be 200F - 210F.
Using the parchment paper, lift the loaf out of the dutch oven and let it cool on a wire rack.
Baguette
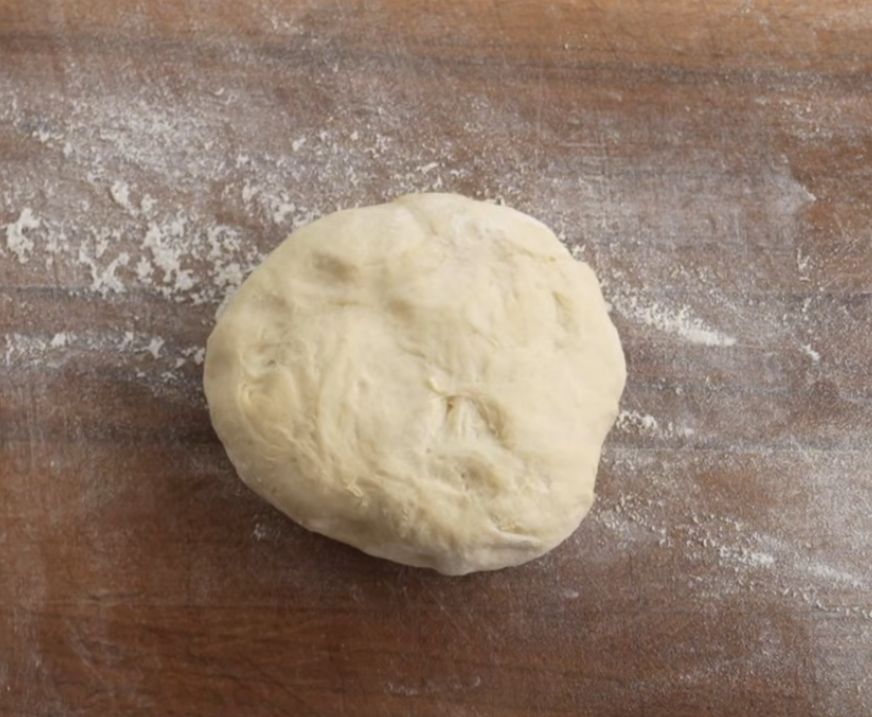
Weigh out 300 grams of dough, fold in the edges once.
Roll the dough into a tight ball and cover with a damp towel. Let it rest for 15 minutes.

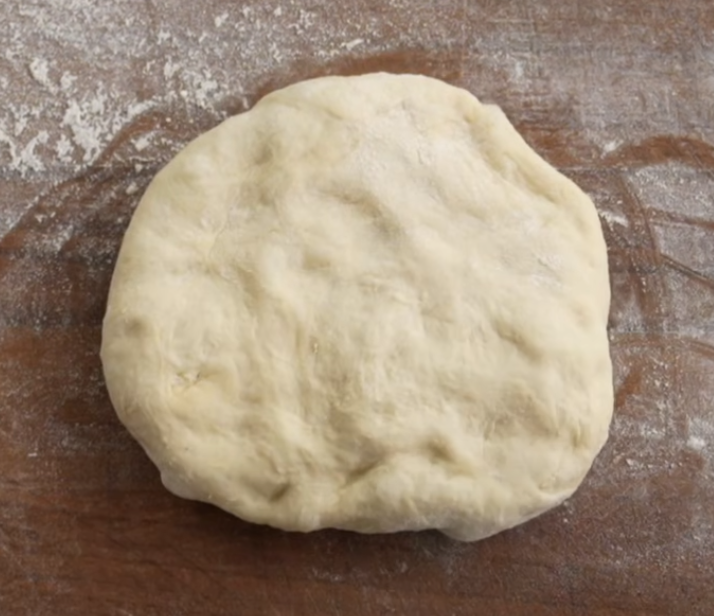
Lightly flour the surface and with the bottom facing up. Punch it down to remove excess air bubbles and form a square shape.
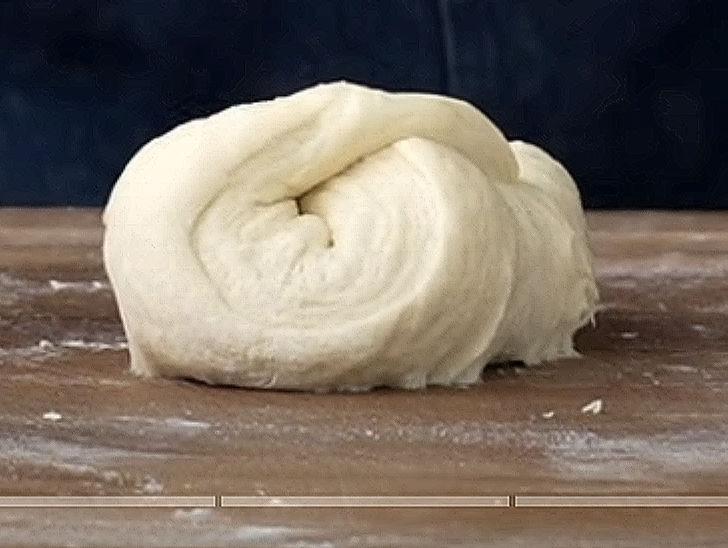
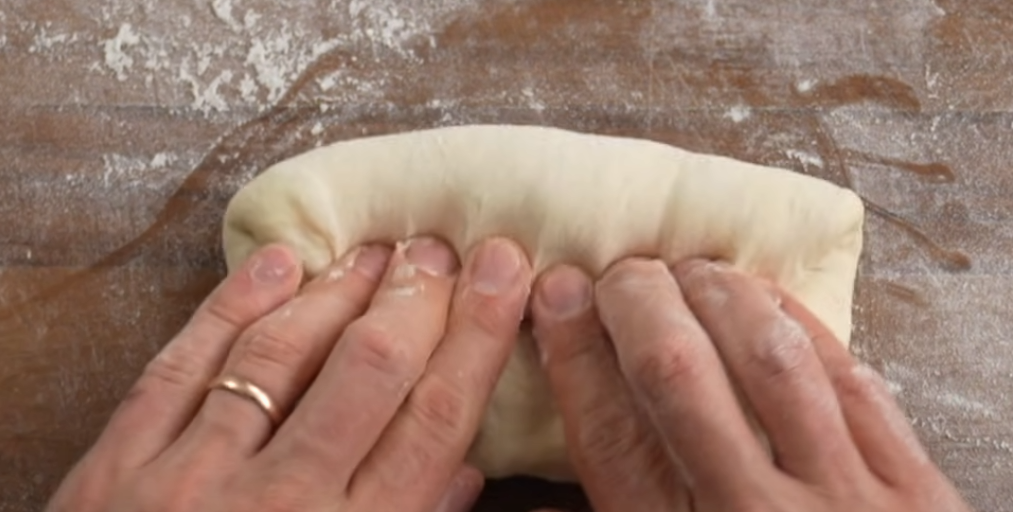
Starting from the top, roll the dough down about 1 inch at a time and press down to seal the edges, creating more tension in the dough.
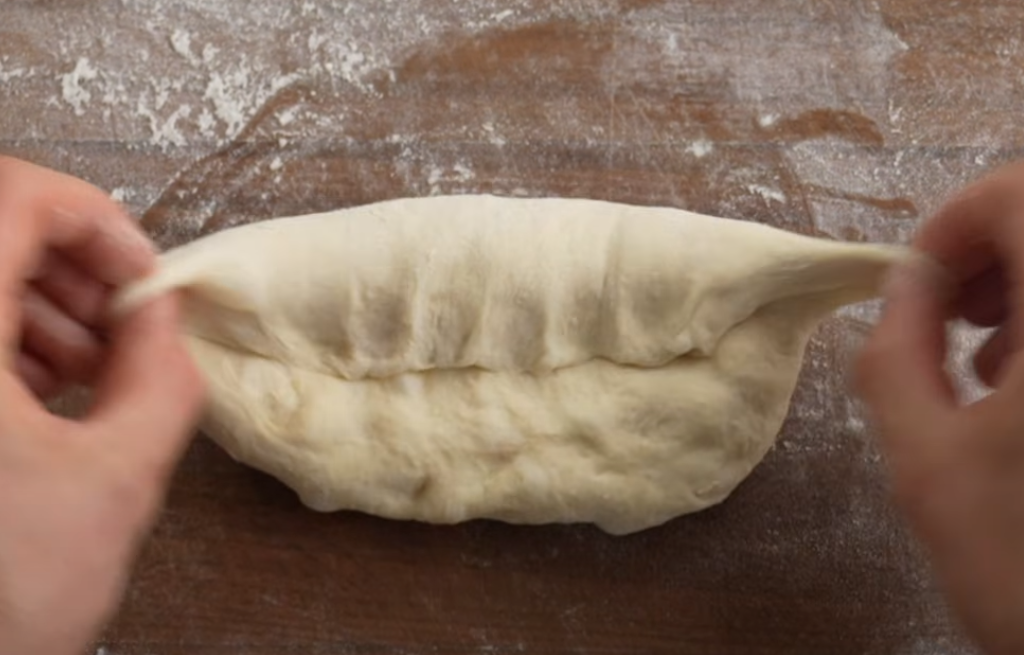
You can also stretch out the sides and fold them in to clean things up.
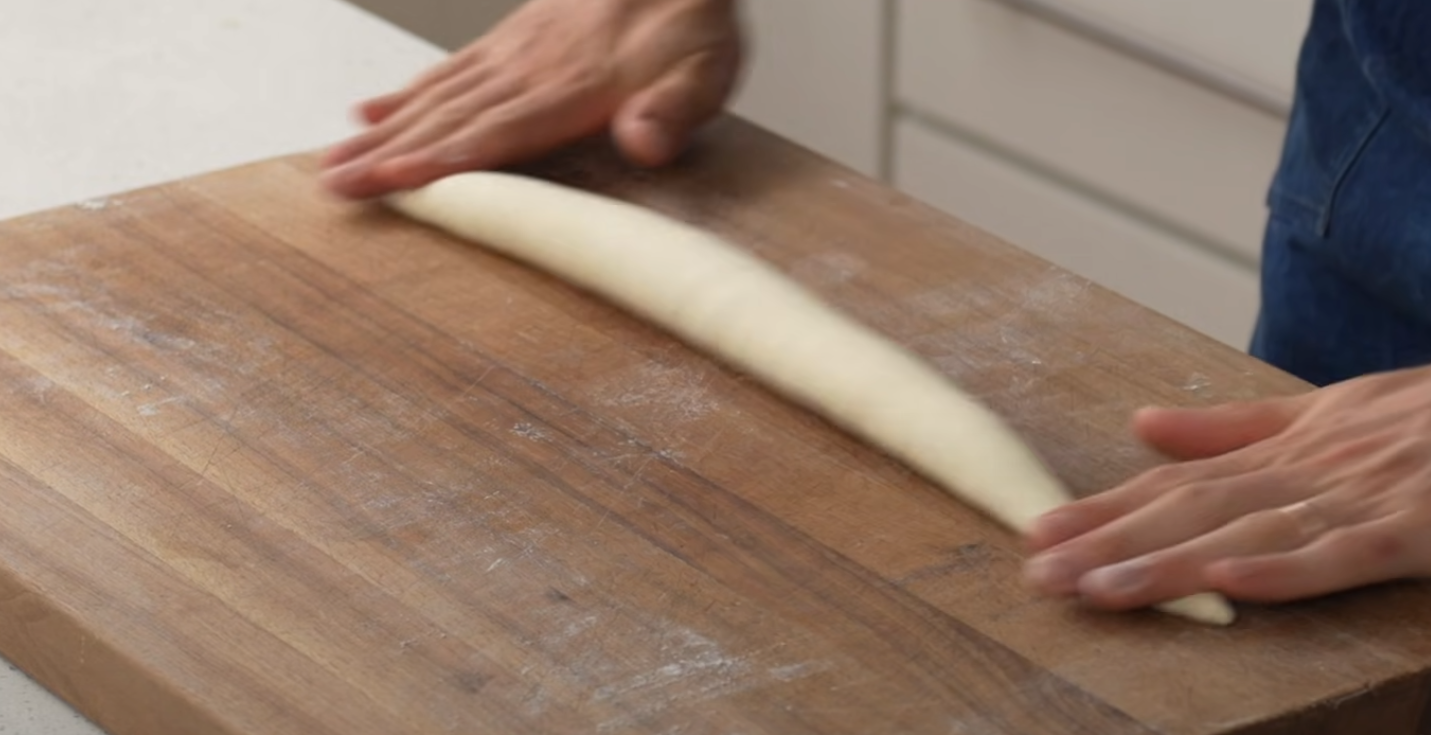
Gently roll the dough into a tube shape about 6 - 8 inches long.
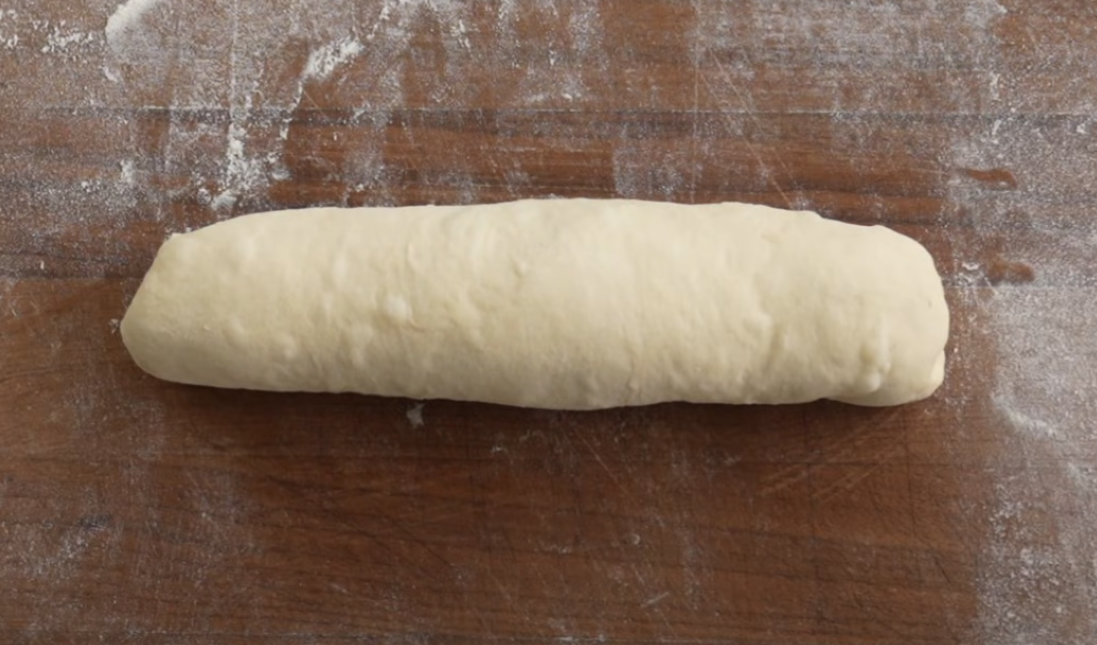
Continue to roll with a bit more downward pressure to lengthen the dough. When you have about a 12 inch long tube press harder on the ends to seal them.
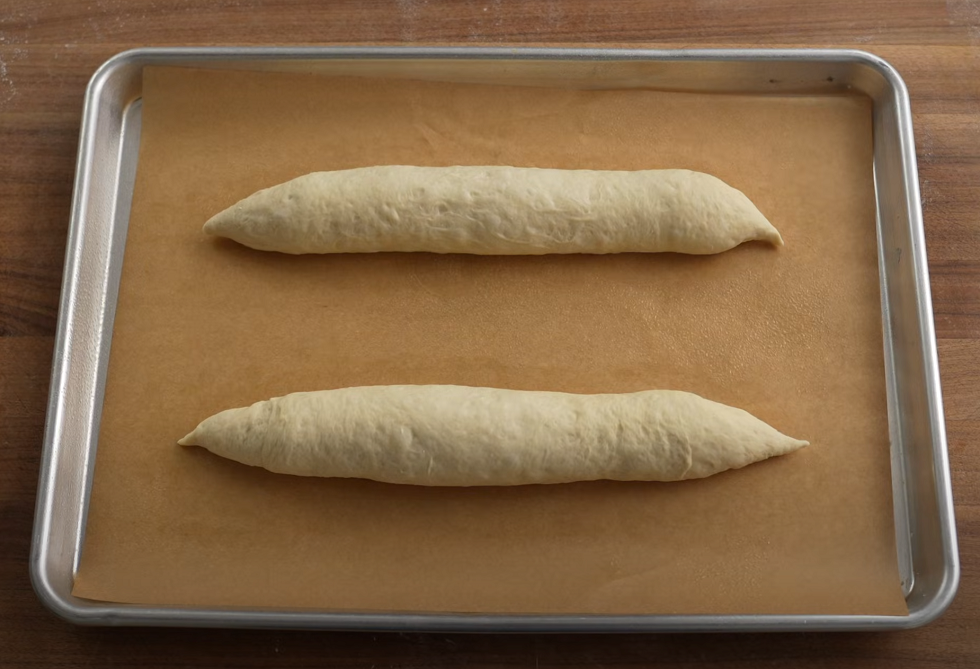
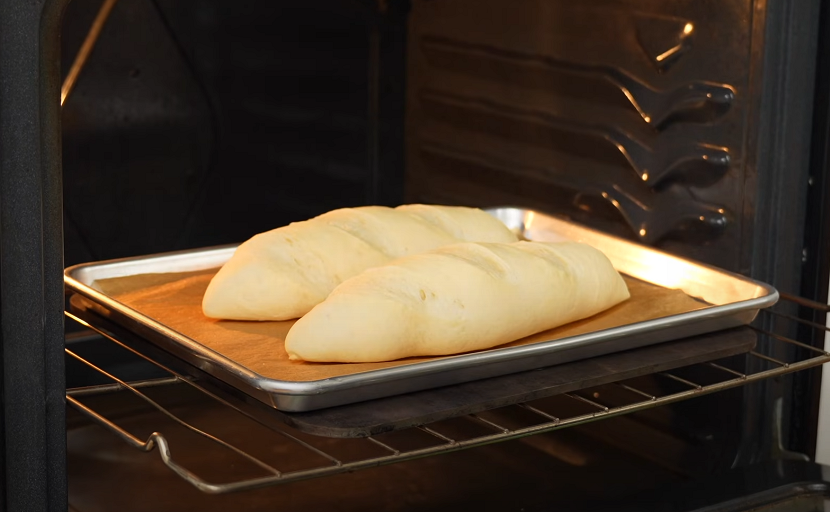
Place the dough seam side down onto a parchment lined baking sheet. Cover with a damp towel and let it proof for 60 minutes at room temperature.
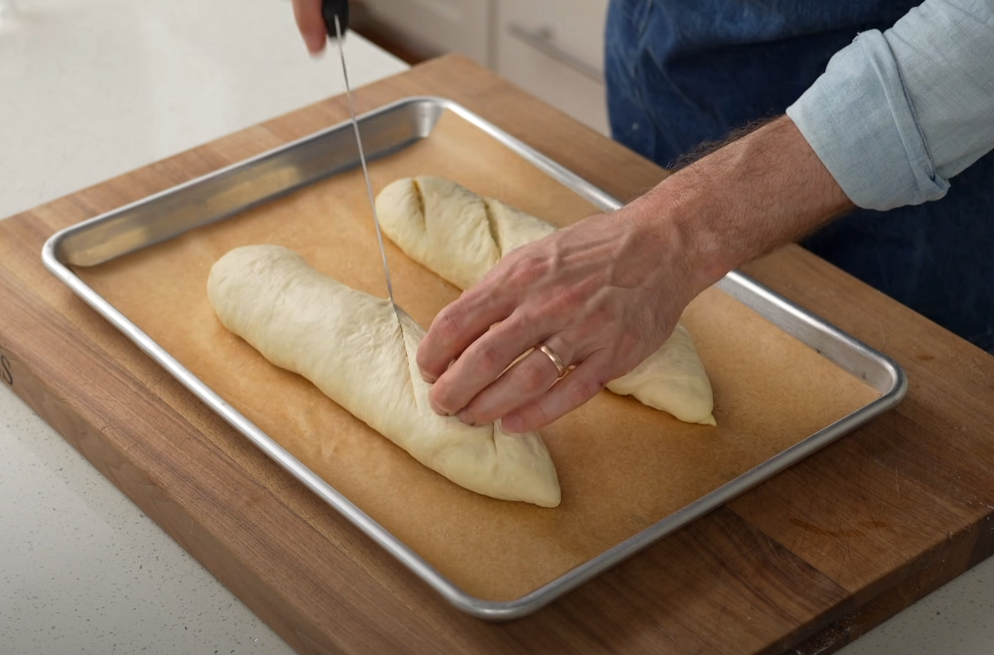
After 60 minutes, the dough should have risen and be puffy. They should bounce back when poked. Using a serated knife, score the dough at a 45 degree angle about every 3 - 4 inches apart.
Spritz the dough with water to create extra steam and cover.
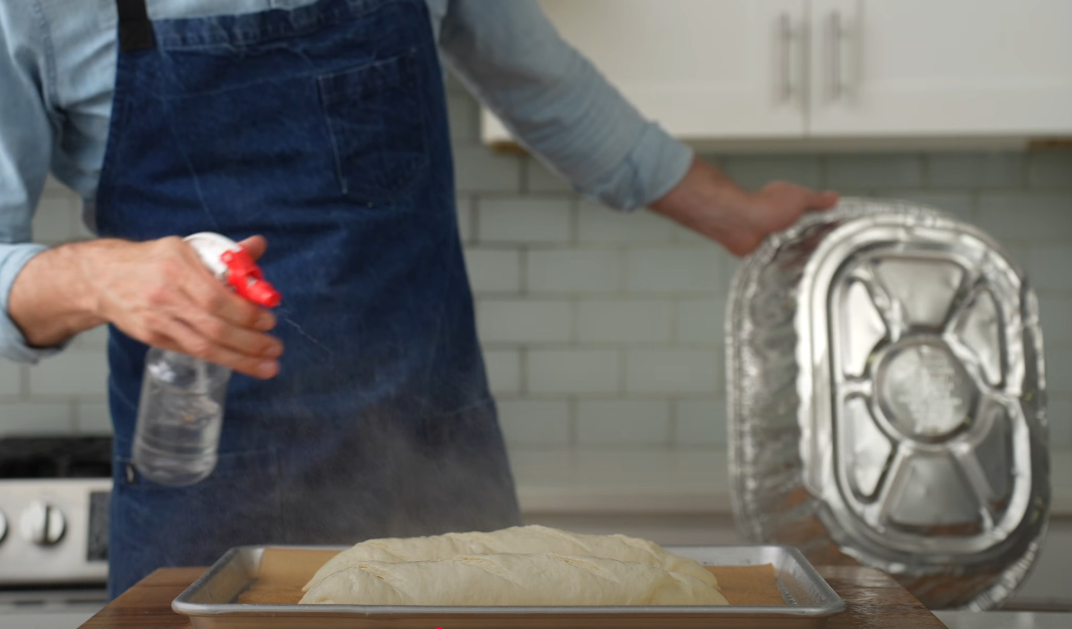
Place the dough into a preheated oven at 420F and bake for 20 minutes.
Remove the cover and continue to bake for another 10-15 minutes until golden brown and crispy. Remove from the oven and cool on a wire rack.
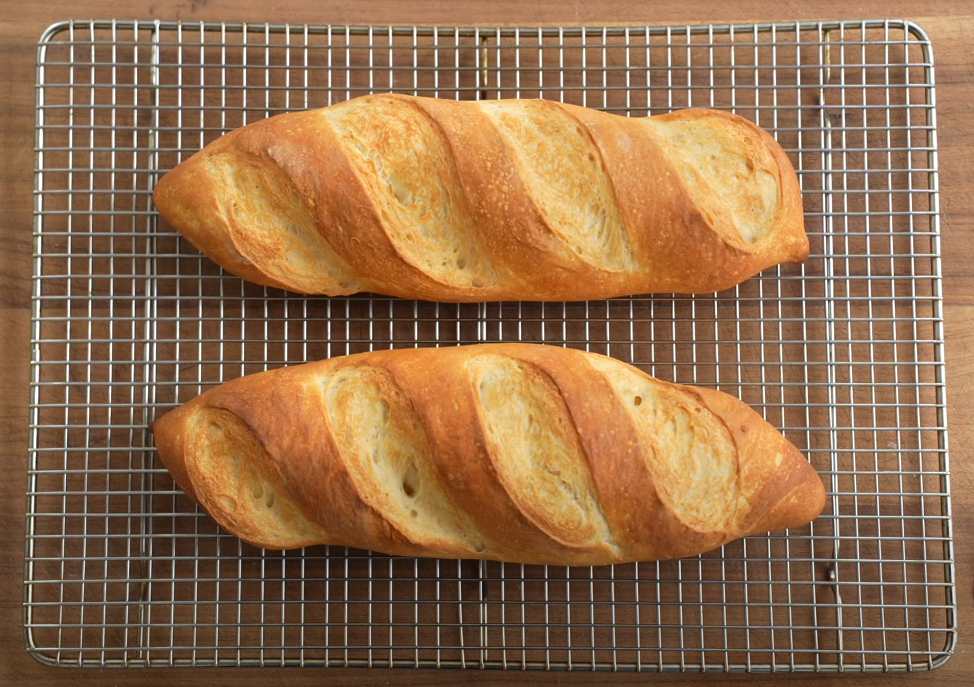
Tip
Check the temperature - Using an instant read thermometer, check the internal temperature of the baguettes. It should be 200F - 210F.